
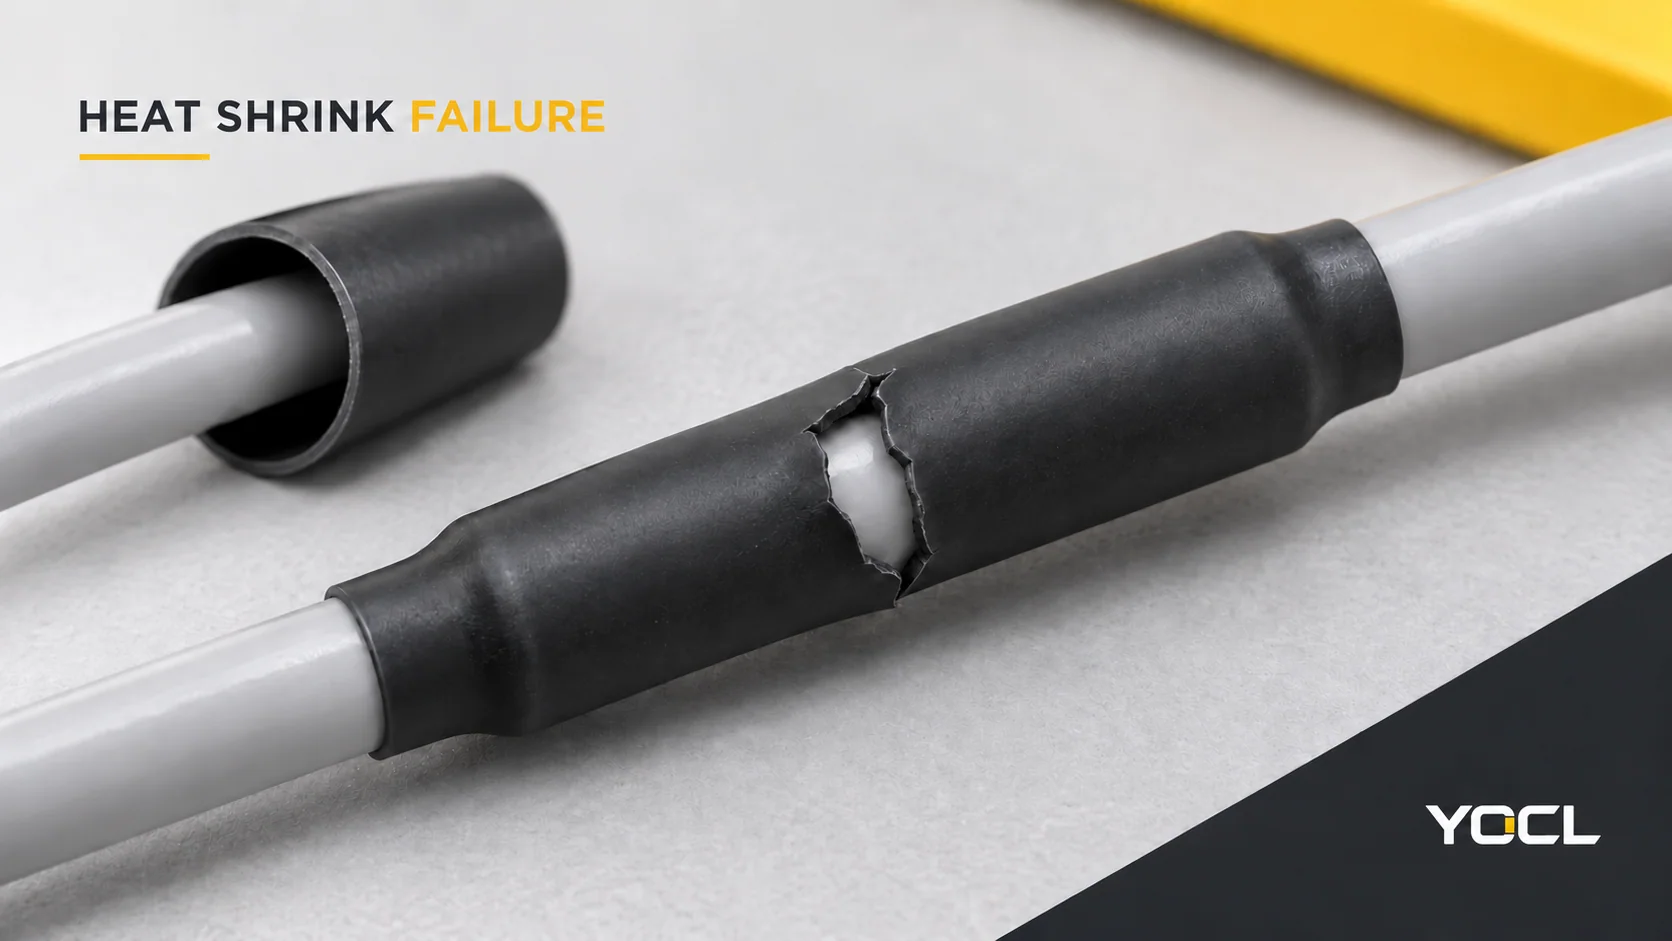
Heat shrink tubing can split because of thermal or mechanical damage. An intact sleeve can remain loose because its dimensions or recovery process are unsuitable. A sealing problem adds another question: did the liner form the required interface, and has the completed arrangement been verified? Diagnose these states separately before deciding that more heat or a different shrink ratio will fix the problem.
Inspect the connection only under the equipment’s isolation and maintenance procedure, and allow heated parts to cool before handling.
Key Takeaways
- Damaged wall: stop rework and review replacement plus the condition of the covered part.
- Loose but intact sleeve: check the exact size and local geometry before reviewing the heating process.
- Tidy exterior: distinguish a demonstrated sealing failure from a seal that has never been verified.
Match the Symptom to the Next Check
Use the table to choose an investigation, not to assign a cause from one photograph.
| Symptom | Cause to investigate | Safe check | What the result means | Next action |
|---|---|---|---|---|
| Split, puncture, blister or burned patch | Thermal or mechanical damage | Record location and when it first appeared; review process and handling history | The wall is defective; the appearance does not identify the sole cause | Review the affected assembly and replacement route |
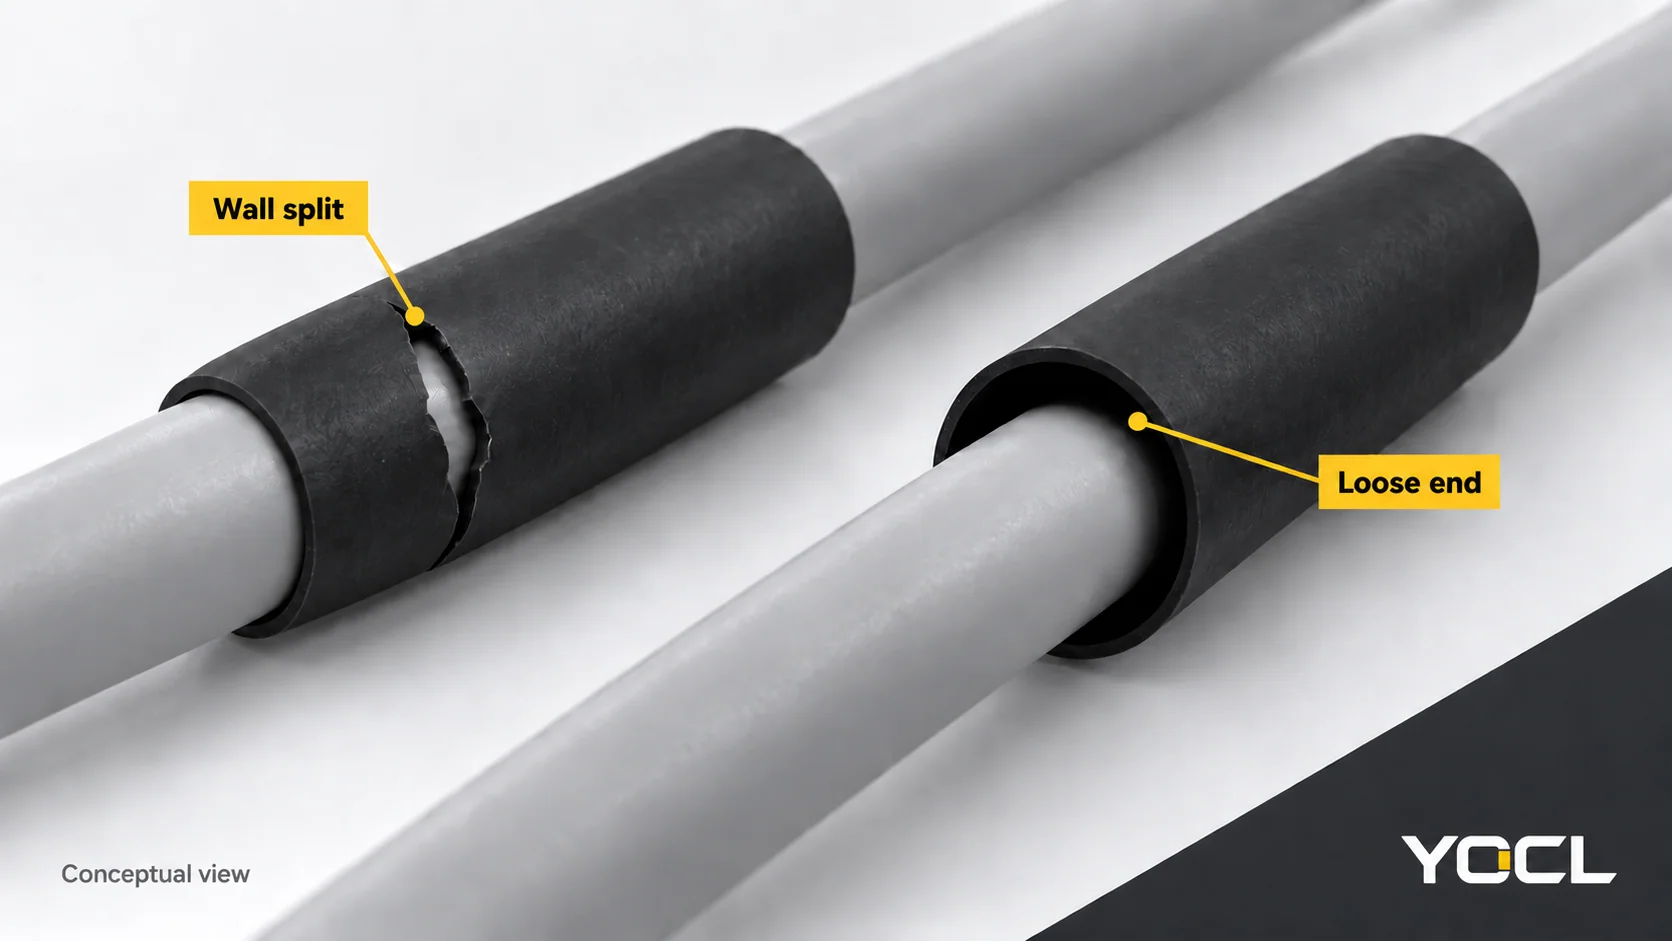
| Sleeve remains loose along its length | Unsuitable recovered bore or incomplete recovery | Compare the exact row with the covered geometry, then the process record | Failed size evidence calls for a fit review; compatible dimensions leave process questions | Correct the selection or review permitted process correction |
| Tight over a large feature, loose at a smaller end | Transition or local-contact problem | Check both landing surfaces and coverage against the application requirements | Contact at the widest point does not establish contact at the end | Review geometry, size and required contact length |
| Unlined sleeve looks tight, but a bonded seal is required | Construction does not provide the intended liner function | Confirm the series and required function | Mechanical covering has been mistaken for adhesive sealing | Review the specified sealing arrangement |
| Adhesive-lined exterior looks tidy, but moisture is reported | Interface problem or another moisture path | Review jacket/liner identity, preparation and process records; investigate the actual path | Moisture alone does not locate the entry point | Correct the confirmed path using the assembly’s repair procedure |
| Neat sleeve, no relevant sealing evidence | Acceptance evidence is missing | Compare the required exposure with the available assembly record | The seal is unverified, not necessarily failed | Obtain the applicable verification before acceptance |
A Split Is Damage; Location and Timing Guide the Investigation
A crack should not be treated as an unfinished recovery step. Within its NASA mission-hardware scope, NASA-STD-8739.4A, Change 4, §§9.11.1 and 20.5.2, distinguishes sound sleeving from cracked, punctured, blistered, burned or split parts. These are scoped workmanship criteria, not a YOCL qualification.
Establish when the defect appeared:
- Before heating: compare receipt photographs and unused material from the same identified batch. An existing cut cannot be attributed to a heating step that has not occurred.
- During recovery: compare the damaged location with the heating record and contact features beneath or beside it. A localized mark or a tear at an edge suggests a place to investigate; it does not prove either overheating or a material defect.
- After movement or service: record the bend, restraint and rubbing location, and any change in exposure. Repeated damage at the same position calls for review of the supported arrangement and its specified duty, rather than another sleeve over the same unresolved condition.
NASA’s §9.9.2 makes heat exposure dependent on sleeving size and type and cautions against damaging the covered object. Review those two parts of the process together. A sound-looking replacement sleeve cannot settle whether the jacket or connection underneath was damaged. Access and replacement must follow the assembly’s approved repair route.
An Intact Sleeve Can Still Have the Wrong Fit or Process
Check the small contact surface, not just the large feature
Record the largest feature the tubing crossed and the smallest surface where it must make contact. Use the supplied and recovered limits from one exact size row, together with its permitted application range. The heat shrink tubing size chart provides the full lookup and explains the limit signs.
If the published recovered bound does not establish contraction below the intended surface, that size has not passed the preliminary fit screen. This does not mean every specimen must fail. It means the declaration is insufficient to assure the fit; additional heating is not evidence that the bound has changed.
Inspect both ends and the transition. A sleeve can be tight around a connector-sized feature while leaving space around the narrower jacket. A bundle or irregular shape also needs its actual contact geometry reviewed; one measured round diameter cannot describe every valley or landing surface.
Starting to shrink does not confirm a completed process
When geometry is compatible, compare the installation record with the exact product and assembly instructions. Record the equipment, heating method and specified process conditions, rather than guessing from a dial setting or how quickly the outside moved.
For example, YOCL HS3X product information separately lists initial shrink ≥70°C and full shrink ≥125°C. If a hypothetical work record says only “stopped when shrinking began,” it has not established the latter condition or completion of the liner process. These catalogue fields are not a heat-gun setting, dwell time or permission to expose the whole assembly to unlimited heat.
If correction is permitted for the exact undamaged assembly, follow that documented process and its acceptance checks. If the process is unavailable or the covered part may be compromised, escalate the review. Do not improvise repeated heating to force acceptance. The heat-shrink terminology guide distinguishes recovery conditions from subsequent service duty.
Adhesive Flow and a Verified Seal Are Different Evidence
First confirm whether a bonded seal is required and whether the installed product has the specified liner. A tight unlined sleeve does not acquire adhesive by further heating. Use the single-wall versus dual-wall comparison for that construction decision.
For a lined product, review the actual jacket material, liner compatibility and preparation record. The UK’s National Physical Laboratory, in Surface Testing for Bonding, Issue 2, explains the role of surface preparation and contaminants in adhesion and why assessment depends on the material pair and process. Its research supplies general bonding principles, not a cable-jacket cleaning recipe or heat-shrink sealing test. Use the applicable instructions for preparation rather than an arbitrary solvent or abrasion method.
A visible adhesive bead shows material at an exposed end. It cannot reveal the continuity of the hidden interface around the cable or along the covered region. That is a limit of the observation, not a claim that every beaded joint leaks. Conversely, the absence of a bead is not a universal rejection rule unless the applicable process requires it.
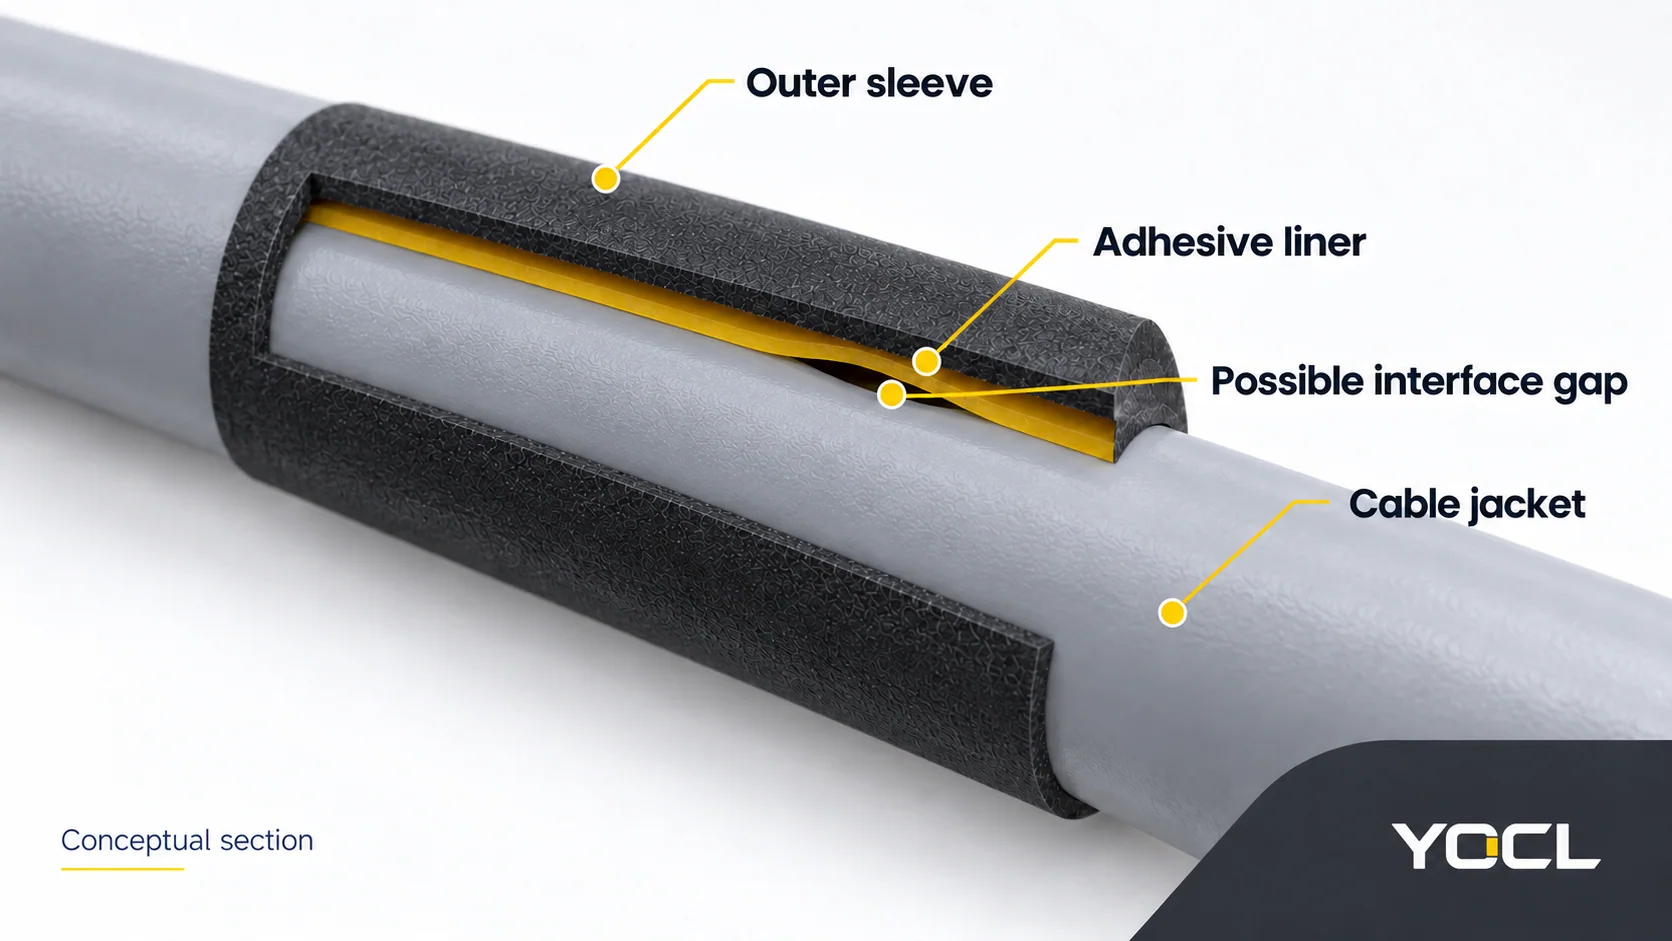
If moisture is observed, investigate how it reached the protected region. Do not assign all moisture to a sleeve-end leak before the path is established. If there is only a tidy appearance and no relevant evidence, record seal unverified.
Define the required exposure—such as condensation, splashing or immersion—and compare it with the evidence for the completed arrangement. Use its specified inspection or test and acceptance criteria. Liner presence, ratio and material properties alone cannot approve the installed seal or assign it an ingress-protection rating. This diagnosis does not substitute an improvised water, pressure or electrical test.
Record the Evidence Before Rework or Replacement
Keep one review record containing:
- Series, exact size and batch if available; symptom photographs, location and first-observed timing.
- Pass-over and contact geometry, coverage, jacket material and required function/exposure.
- Original process and preparation record; observed moisture path; missing instructions or acceptance evidence.
- Proposed disposition: replacement/covered-part review, fit or construction correction, permitted process rework, or sealing verification pending.
Prevention follows the finding: preserve the reviewed geometry and support, use the specified material pair and process, and retain the acceptance record. For a YOCL model review, send this record through the heat-shrink tubing product range so the exact dimensions, instructions and applicable evidence can be checked.
References
- NASA — NASA-STD-8739.4A, Change 4, 13 April 2022. §§9.9.2, 9.11.1 and 20.5.2; NASA mission-hardware cable-and-harness workmanship.
- YOCL product information — HS3X 3:1 Dual-Wall Adhesive-Lined Heat Shrink Tubing. Declared initial/full shrink fields and material layers; checked 7 October 2026.
- National Physical Laboratory — Measurement Good Practice Guide 77: Surface Testing for Bonding, Issue 2, February 2025. §§1.1–1.2, 2.1–2.3 and 7; general adhesion principles and assessment limits.